Building a Boxwood Wall / Boxwood Wall Decor Tutorial / Chicago Party Rental
Hi guys!
Welcome back… I’m building a boxwood wall mainly for use with my acrylic rentals, but if you’d like to decorate yourself and just rent the boxwood that’s fine too.
I wanted to have this built, but it was pretty expensive (rightfully so, its a lot of work, and when I say expensive I mean north of $1k), but I’m a #ladywhobuilds so I took on the project myself! Wanted to pen a tutorial in case you were thinking about creating one yourself. I must warn you, and you can find demos on this via YouTube, affixing the boxwood panels to plywood in my experience is one of the most intense construction projects you can take on. There are easier methods depending on your purposes (i.e. where the boxwood panels are connected and hang), but I like how the sturdiness of the plywood makes the boxwood appear. I want to say that overall the price was between $300-$375 and the boxwood panels were the priciest line item.
TOOLS
Two large pieces of plywood (try to get sizes that are friendly to the 20” x 20” sized boxwood panels so you won’t have to do a ton of trimming later)
2 cans of hunter green spray paint (I’ve also seen people use black paint)
Drop cloth
3-4 sets of hinges depending on how tall your plywood is (I used 3 to accommodate 6.5 feet)
Boxwood panels 20” x 20” (I needed 1 box of 12)
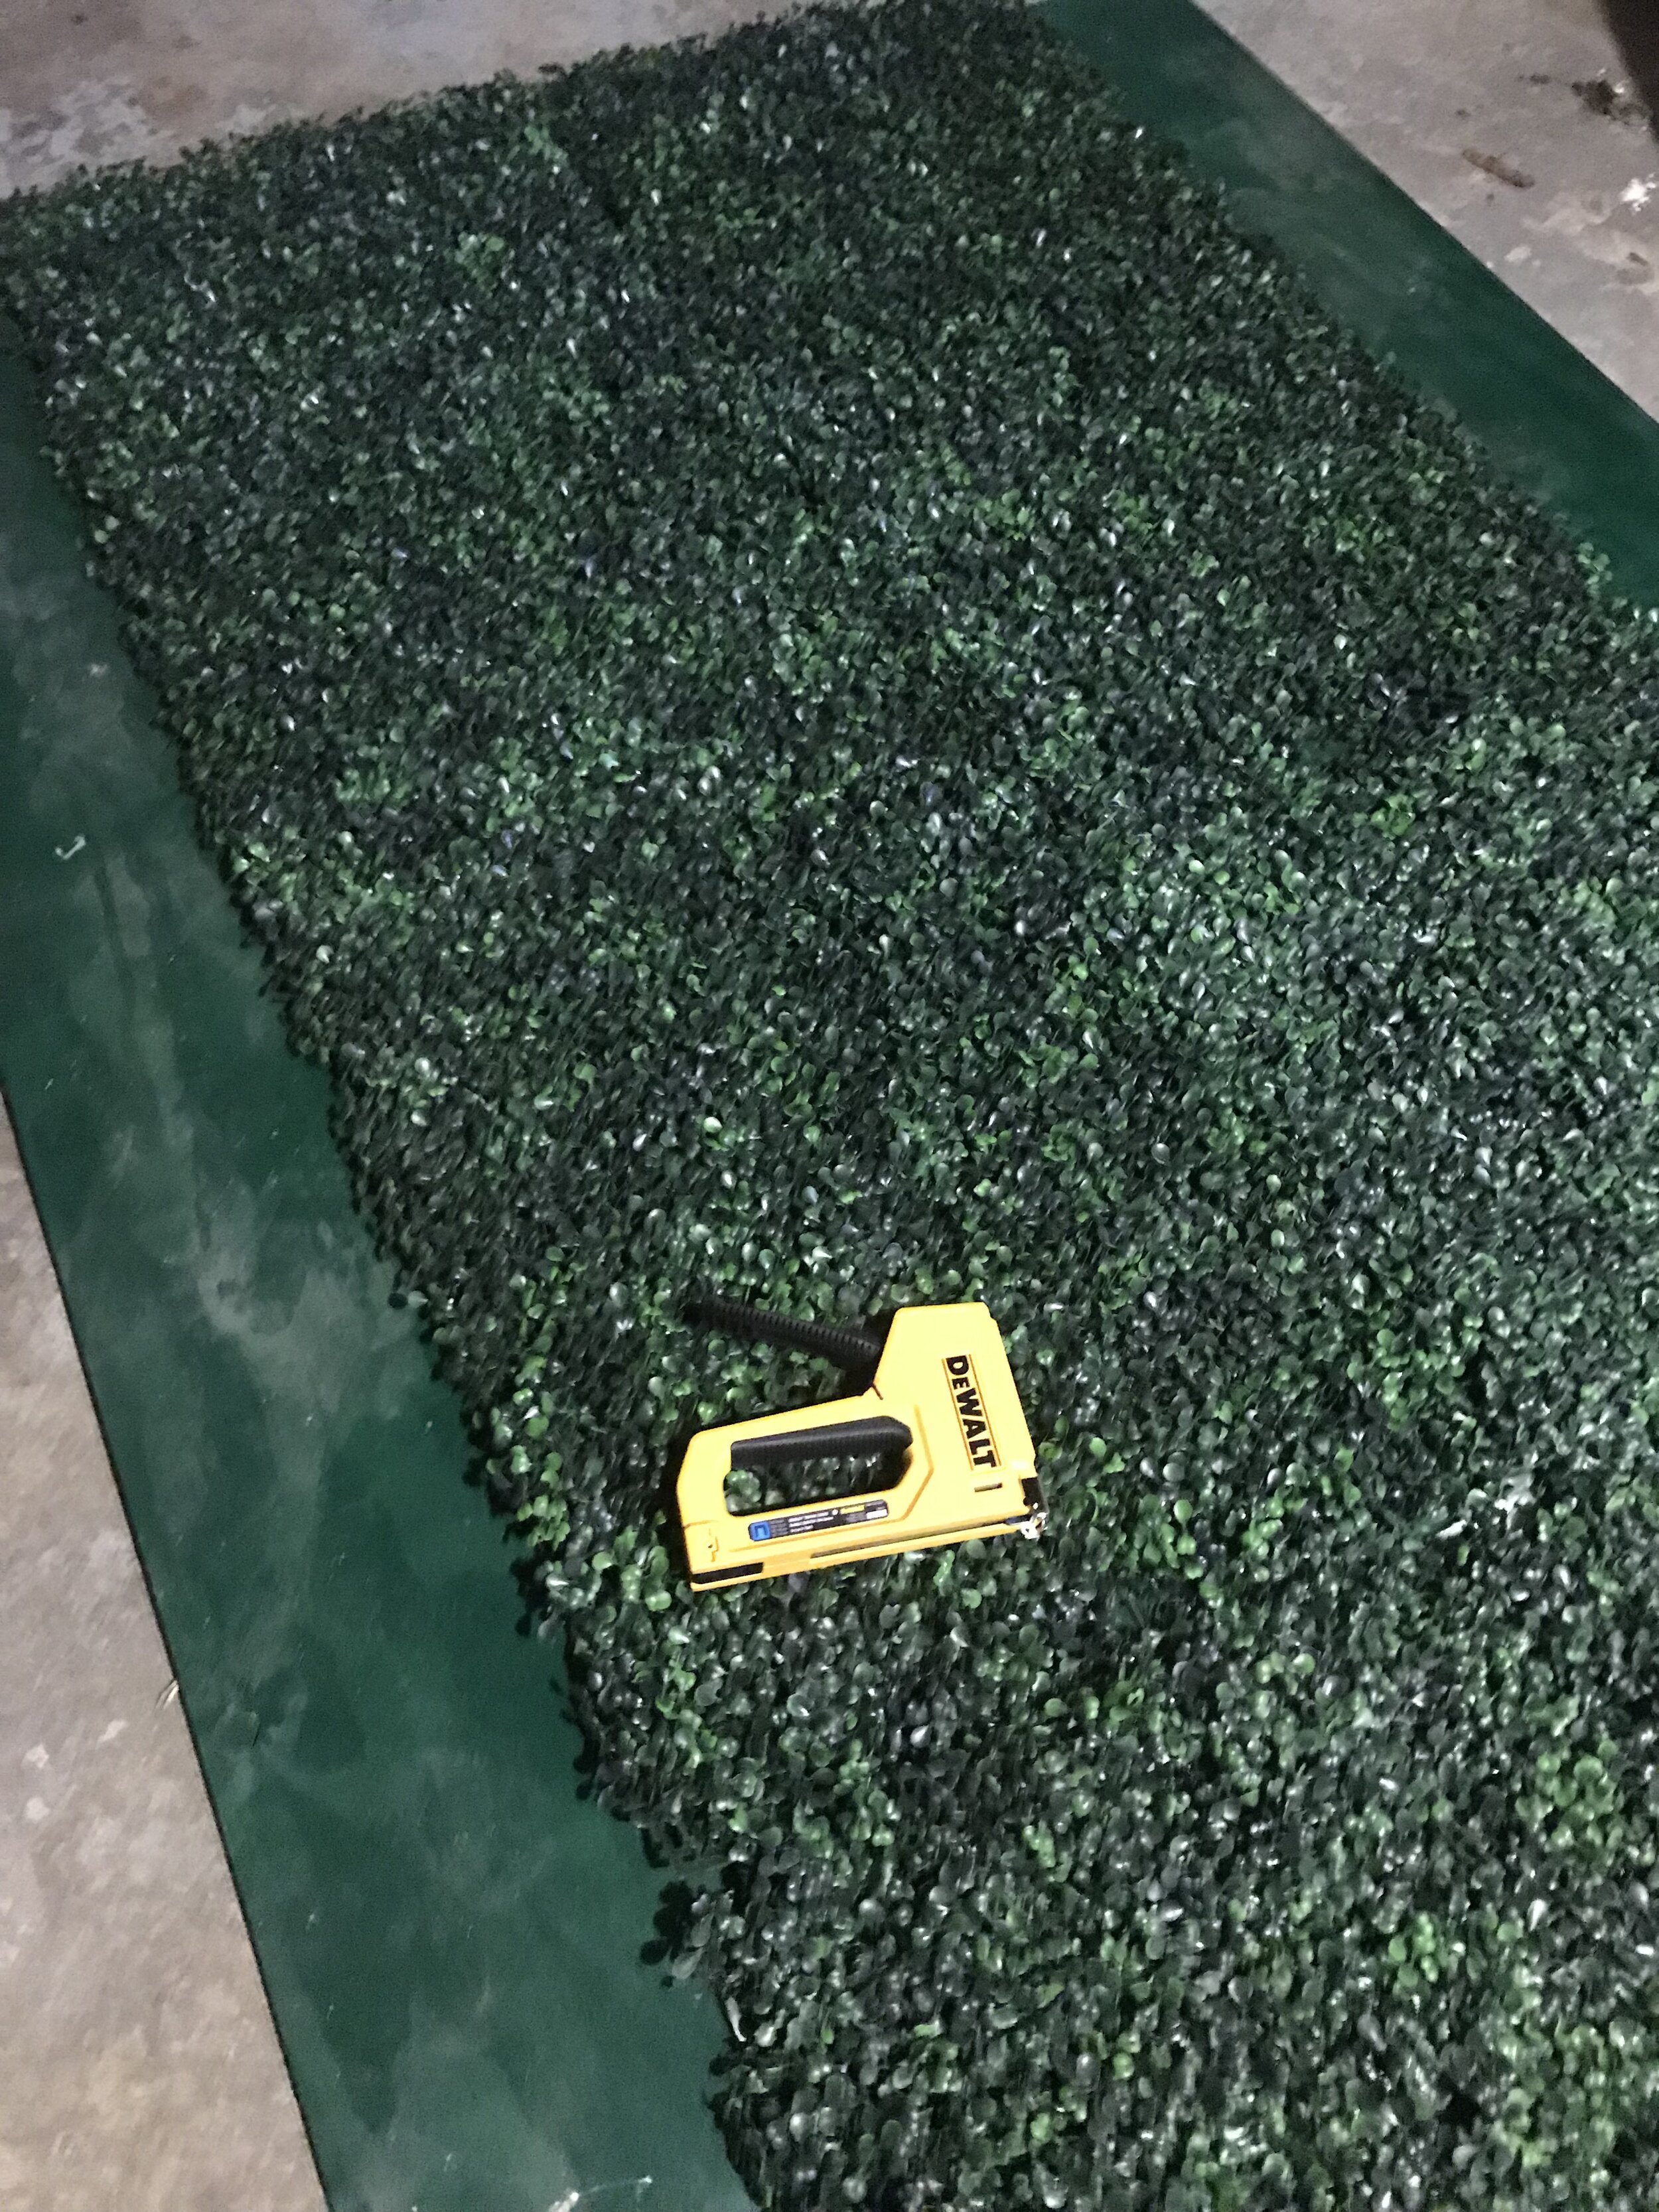
Dewalt brand heavy duty stapler (If you can, try to secure an electric stapler because its a painful process)
Compatible staples (you’ll need plenty because unless you are accustomed to doing this, you’ll misfire as many as you nail… You could probably be ok with 1,250 but I purchased a box of 5,000)
Green zip ties (they should come with your purchase of boxwood panels). I would grab some floral tape and floral wire, both green just in case.
STEP 1.
Purchase your plywood. To be honest, I wasn’t sure what size to get, but I DID know that I wanted the wall to be able to fold, simply to make sure that I was able to easily move it in and out of tight spaces. I found out later that the standard height is really 8 ft. This one is almost 6.5 ft. The width when opened is 4.5”. Not too imposing and can work for both a wedding and party.

STEP 2.
Get a drop cloth that will be large enough to accommodate the size of your plywood panels and some hunter green spray paint or paint in the can. I grabbed two cans and needed both to cover all this real estate!

STEP 3.
Start painting! Work outside if you can. Just make sure you get some good coverage as you want to make sure the pale wood can’t be seen underneath your boxwood panels.

STEP 4.
Now that you have the panels painted, after allowing them to dry, you can add the hinges to the back. Now I personally think the boxwood wall should fold backwards… Meaning that the boxwood panels should be protected and away from each other. In other words the boxwood material shouldn’t “kiss” when closed. The plastic grass material sheds pretty easily so I think this way helps preserve it longer. Also, do yourself a favor and make sure your plywood is far enough away from each other so that it will actually FOLD. I know this sounds elementary but I had to do these over because the first time I screwed them in, the boards were too close and when I bent them they only folded into a “V” shape and stopped.

I added three based on this height. If you are going to go with 8 feet you should probably use 4 hinges.
STEP 5.
After you get the hinges affixed, stand it up and see what it looks like. The screws that I used for the hinges were a little long so I stuck some small pieces of foamcore onto the areas with the exposed screws just for safety reasons. Note that the space that was needed between the plywood to make sure it folded all the way in half, allows for a small “V” when the panels are pulled the other way.

STEP 6.
I did NOT get a shot of one of the panels, but I found one online. You see the plastic grid pattern on the backside? THIS is what you are adhering to the plywood. They are 20” x 20” and you can actually hook them into each other which allows you to nicely place them on top of the plywood prior to stapling them into place. I bought a box of 12 which I had to be creative to fit. I obviously had to trim some of them which in hindsight I wouldn’t do again. Having to trim out the plastic lends to inaccuracy. Better to just let the size of the boxwood panels (and how many you are willing to purchase) dictate the size of your plywood. Trust me it will be easier.

I decided to take the first 8 and affix them along the fold. The 4 that I had left, plus what I trimmed off at the bottom was used to finish off the edges. The manual stapler HURTS your hand. Do youself a favor and invest in an electric one.

Standing up and folded prior to adding trimmed pieces on ends
STEP 7.
Finish out the addition of the panels to the plywood. Let me tell you there are NO shortcuts here and it is extremely time consuming. An electric stapler will save your hand some pain, but you will still have to take your time and be very accurate when pointing this stapler and clicking. No one really tells you this on the YouTube vids. You watch and think yeah, ok great. If you get impatient and point the stapler into a mass of this boxwood material it will NOT adhere. You have to patiently dig through the material, spy the grid behind it, make sure its flat and THEN add a staple. Maddening process so give yourself a few days. Don’t get cute either and try to use glue. I did it already. ANYWHERE you add glue in this process, the greenery will become fragile and on top of it will turn a bluish grey… Good times. Oh also, I also curved the material AROUND the ends just so it didn’t stop too abruptly.

STEP 8.
Finishing up! I had to replace the areas where I tried to cheat with glue but the boxwood panels ship with green zip ties so easy to simply go in and tie off nicer pieces vs. getting stuck with having to staple again. I also got some green floral wire just to see what worked best. Both were fine. It really depends on the size of the area you need to perfect or fix.

Boxwood wall backdrop ready to go! If you find some bubbles/uneven areas, just go through and be sure to add a few staples.

Folded in half and affixed to my hand truck with bungy cords…
Thanks for reading this tutorial and good luck with your backdrop!!!
Amended this blog FINALLY to show the stand that I made for it. You simply need to get some wood trimmed at Home Depot and add hinges. The great thing about these are that you can STILL fold the piece AFTER you fold the holders in.


I place sandbags through the triangular slots to ensure it is sturdy and will withstand wind…
—ct
If you liked this post, please Pin it to Pinterest!👇🏽

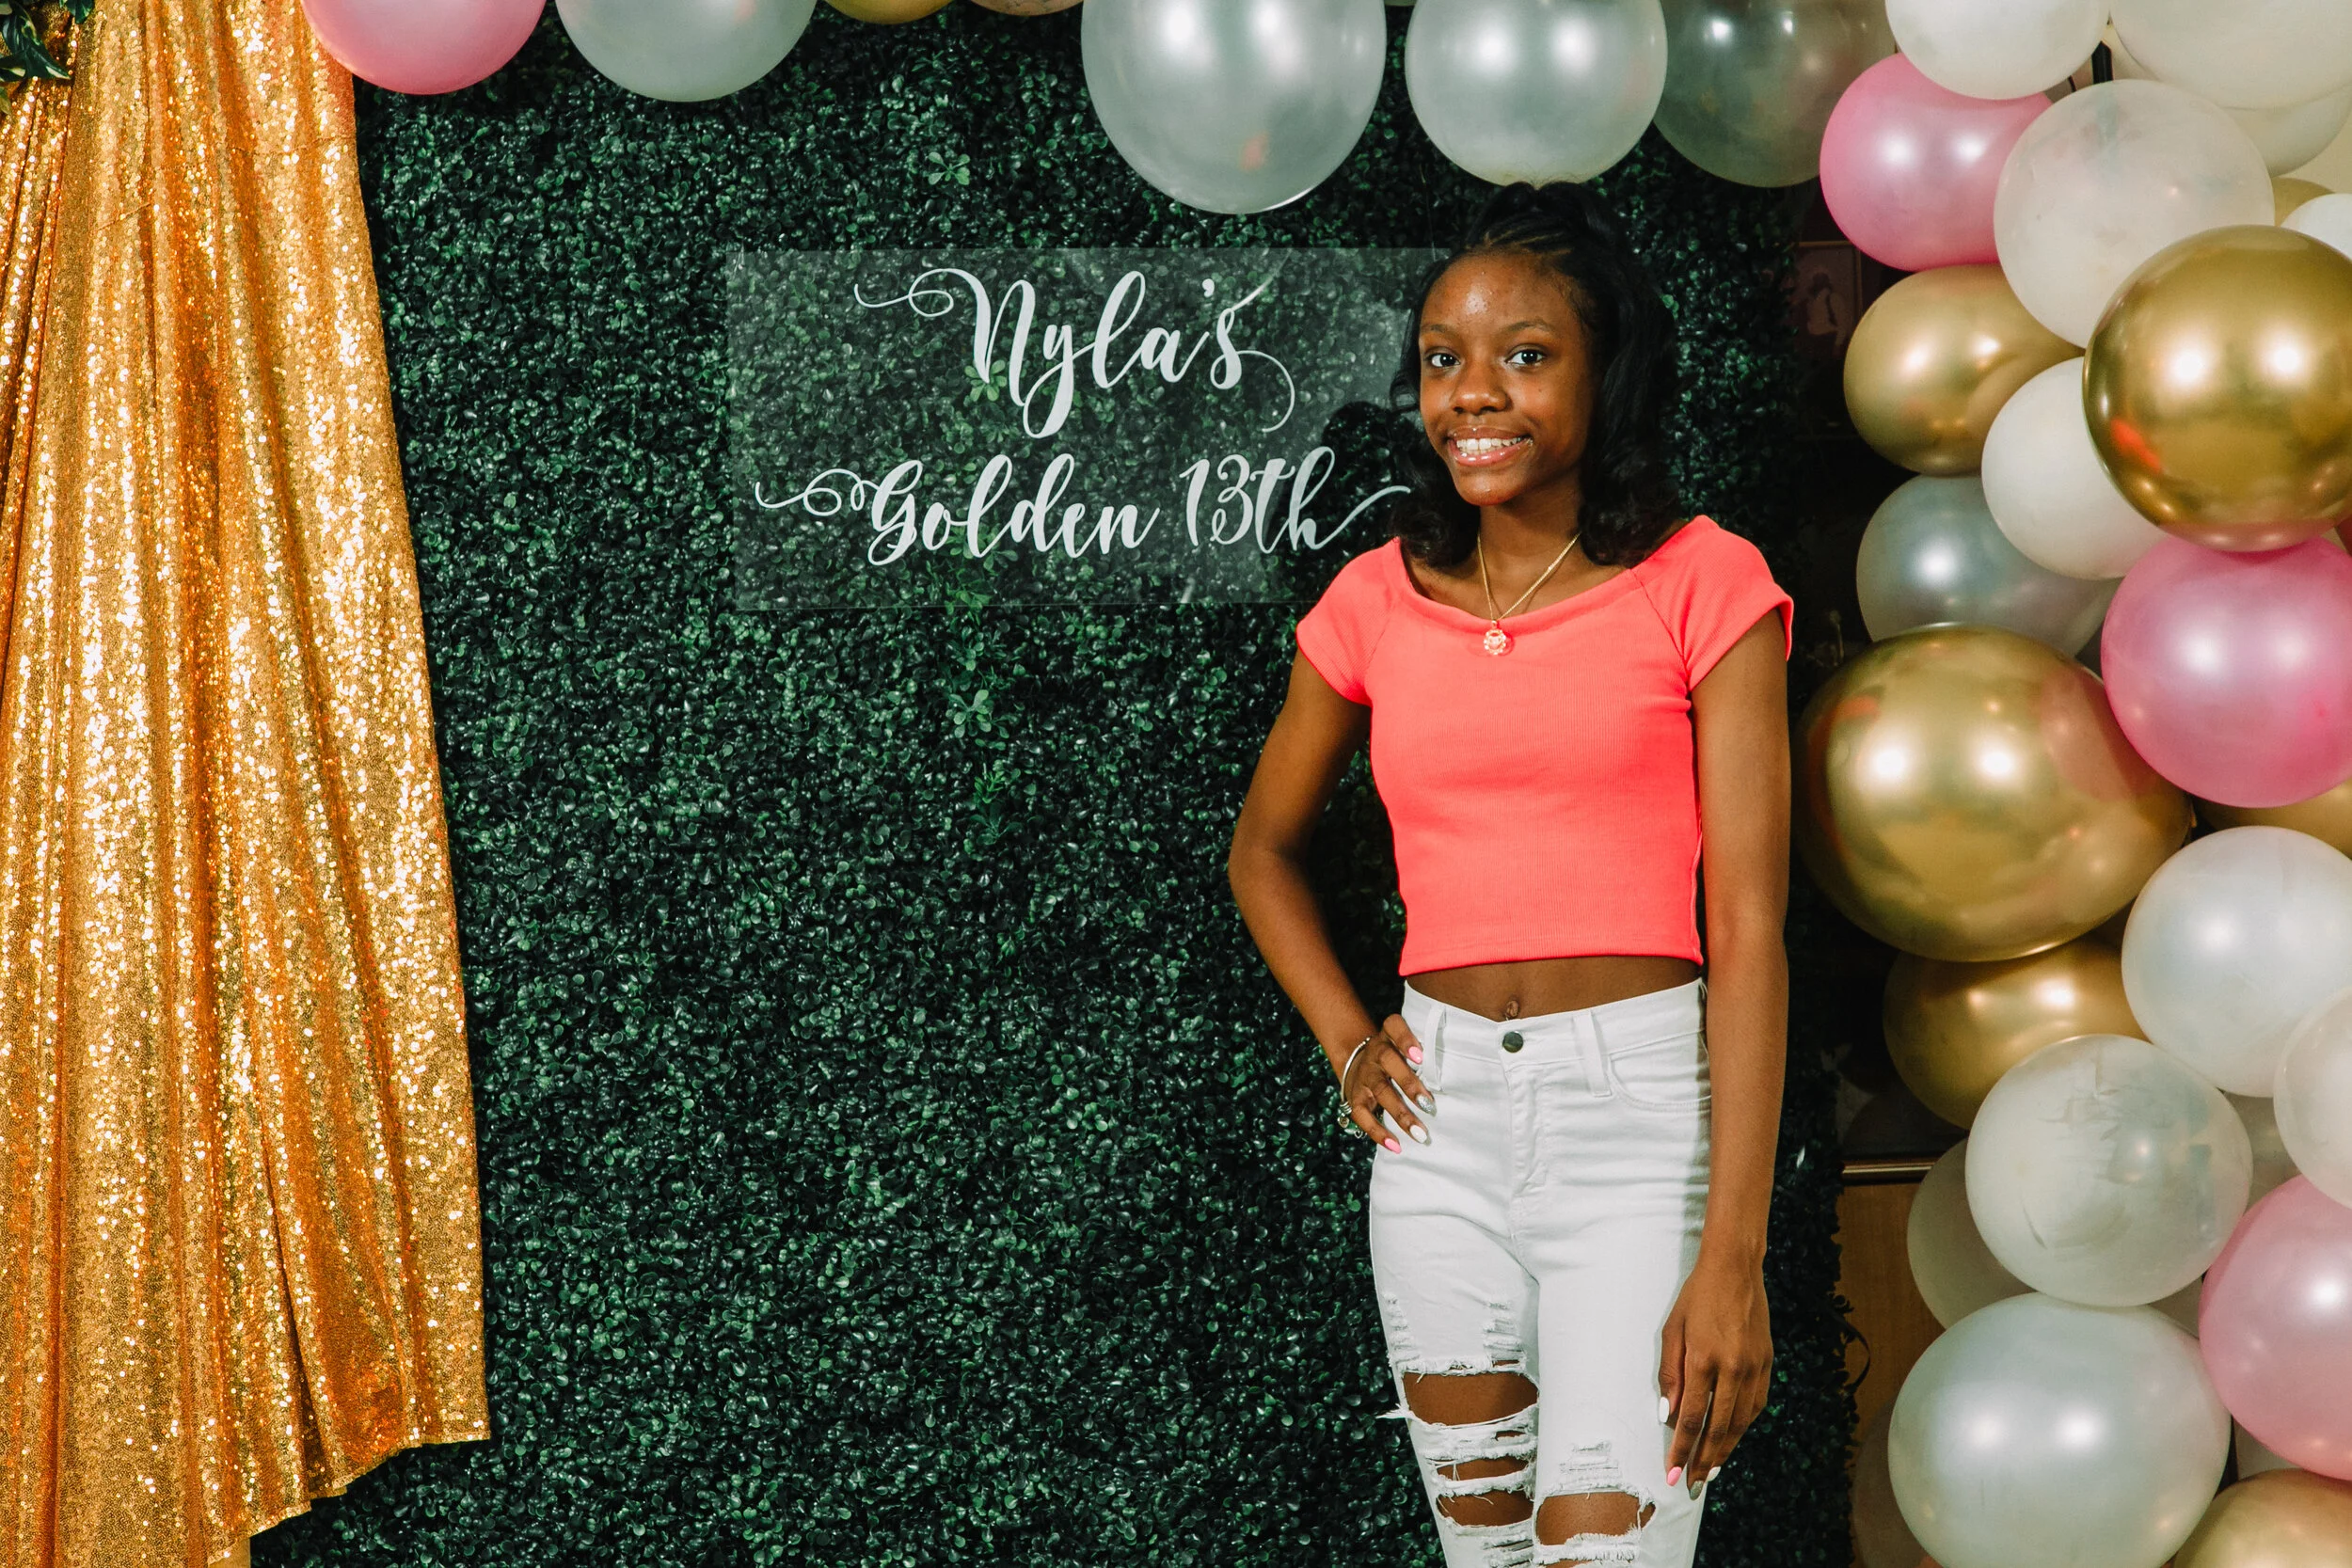
CHECK OUT THE DEBUT OF THIS WALL HERE!!!